Grafting, or eyelash extension application, is typically done by trained professionals in a salon or spa setting. However, here's a general overview of the process:
Step 1 Preparation: The client's natural lashes should be clean and free of any makeup or oil residue before starting the application process. The technician will cleanse the lashes with a gentle oil-free cleanser.
Step 2 Consultation: The technician will discuss with the client their desired look, including length, curl, and thickness of the extensions. They may also assess the client's natural lashes to determine the most suitable extension style.
Step 3 Isolation: The technician will isolate each natural lash using specialized tools such as tweezers or a lash separator. This ensures that each extension is applied to an individual natural lash, preventing them from sticking together.
Step 4 Application: Using tweezers, the technician will dip each extension into a small amount of adhesive and carefully attach it to a natural lash, near the base. The extensions are usually applied one at a time, following the natural lash line to create a seamless and natural look.
Step 5 Curing: After each extension is applied, the adhesive needs time to dry and cure fully. The technician may use a small fan or a specialized curing tool to speed up the drying process.
Step 6 Finishing Touches: Once all the extensions are applied, the technician may gently comb through the lashes to ensure they are separated and evenly distributed. They may also trim any extensions that are too long or adjust the curl if necessary.
Step 7 Aftercare: The client will receive instructions on how to care for their new eyelash extensions, including avoiding oil-based products, rubbing or pulling on the lashes, and using a gentle cleanser to keep them clean.

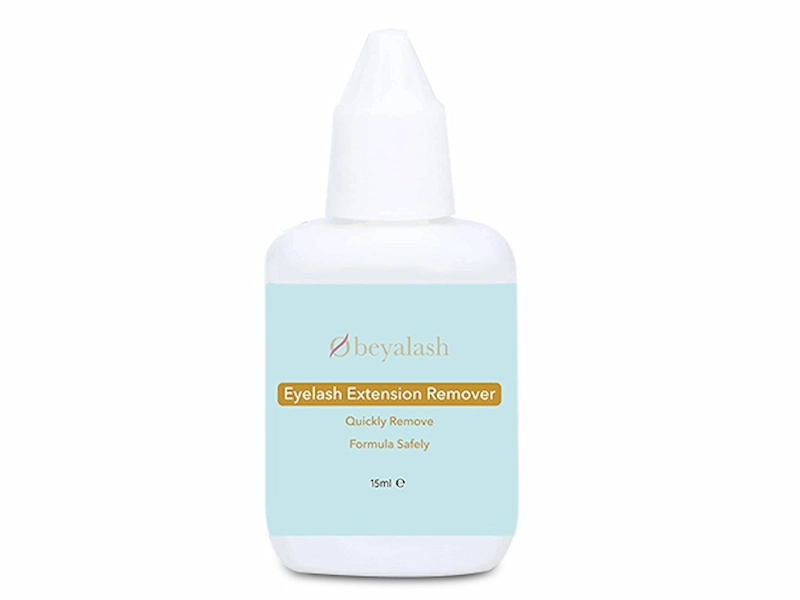
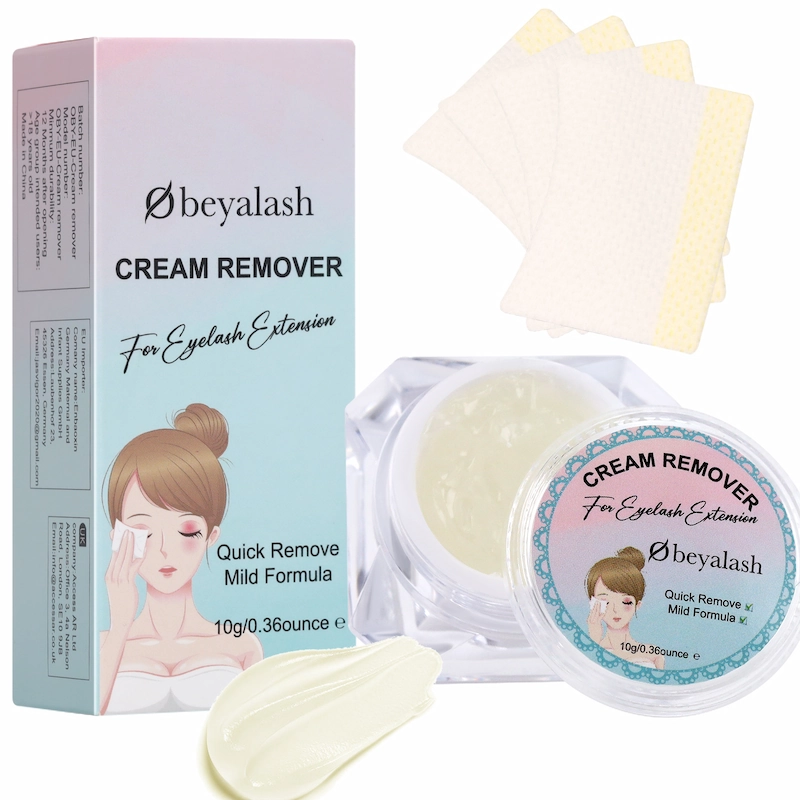
There are primarily two types of eyelash extension glue removers:
Cream or Gel Removers: These removers typically come in a cream or gel consistency. They are thicker in texture, making them easier to control during application. Cream or gel removers are applied to the lash line using a microfiber brush or applicator. They adhere well to the lashes and stay in place without dripping, allowing for a more precise application. These removers often require a longer processing time to effectively dissolve the adhesive bond.
Liquid Removers: Liquid removers have a more watery consistency and come in liquid form. They are applied using a cotton pad or swab. Liquid removers are quicker to apply and spread more easily over the lashes. They may penetrate the adhesive bond faster due to their thinner consistency, resulting in a shorter processing time.
Both types of removers contain active ingredients that break down the adhesive bond of eyelash extensions. When choosing between cream or gel removers and liquid removers, consider factors such as ease of application, processing time, and personal preference. It's essential to follow the manufacturer's instructions carefully and conduct a patch test before using any eyelash extension glue remover to ensure it's suitable for your skin and eyes. If you're unsure about which remover to use or how to safely remove your eyelash extensions, it's best to consult with a trained professional.

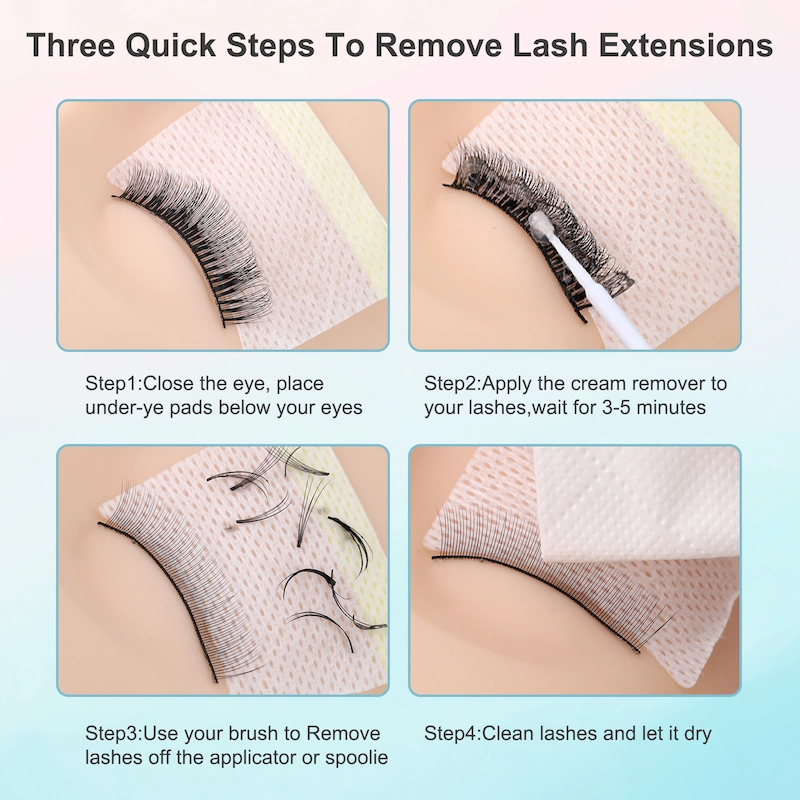
To safely remove eyelash extensions, you'll need a specialized eyelash extension glue remover. Here's a general guide on how to use it:
Choose a Quality Remover: Look for a remover specifically designed for eyelash extensions. They're usually gentle on the eyes and effective in dissolving the adhesive without causing irritation.
Prepare: Make sure you're in a well-lit area with a clean surface. Have cotton pads or applicators handy.
Protect the Under-eye Area: Apply a thin layer of petroleum jelly or a gel eye patch under your lower lashes to protect your skin from the remover.
Apply the Remover: Dip a microfiber brush or a cotton swab into the remover solution. Gently brush the remover along the lash line where the extensions are attached. Be careful not to get the remover into your eyes.
Wait: Allow the remover to work for the recommended time, usually around 5-10 minutes. The extensions should start loosening from your natural lashes.
Remove Extensions: After the waiting period, use a clean spoolie or your fingers to gently brush through your lashes. The extensions should come off easily. If some extensions are still stuck, apply a bit more remover and wait a bit longer.
Cleanse: Once all the extensions are removed, cleanse your eye area with a gentle, oil-free cleanser to remove any residue.
Moisturize: After cleansing, apply a hydrating eye cream or serum to soothe the skin around your eyes.
Avoid Rubbing: Refrain from rubbing or pulling at your lashes, as this can cause damage to your natural lashes.
Dispose of Materials: Dispose of used cotton pads, swabs, and applicators properly.

Remember to follow the instructions provided with the specific eyelash extension glue remover you're using, as different products may have slightly different application methods and wait times. If you experience any irritation or discomfort during the removal process, rinse your eyes with cool water and discontinue use immediately. If irritation persists, seek medical attention.
506.webp)
Designed for salons and distributors, these colored flat lash extensions offer s...
More >>359.webp)
Designed for efficiency and performance, our YY lash trays deliver lightweight ...
More >>181.webp)
It offer a fast, professional solution for creating on-trend manga lash looks. M...
More >>448.webp)
These premade spike lashes give you effortlessly dramatic, defined eyes — from b...
More >>971.webp)
Brown Ellipse Flat Lashes combine a fuller bonding base, rich brown tones, and f...
More >>511.webp)
Add instant glamour to any lash set with our glitter green spike fans. From ever...
More >>223.webp)
The New 2 IN 1 Cluster Lashes Bond and Remover is the ultimate beauty innovation...
More >>527.webp)
Keep your lashes clean, soft, and gorgeous with our New Cream Lash Shampoo Mouss...
More >>